My watercolor illustration journey.

Sketching my Illustration
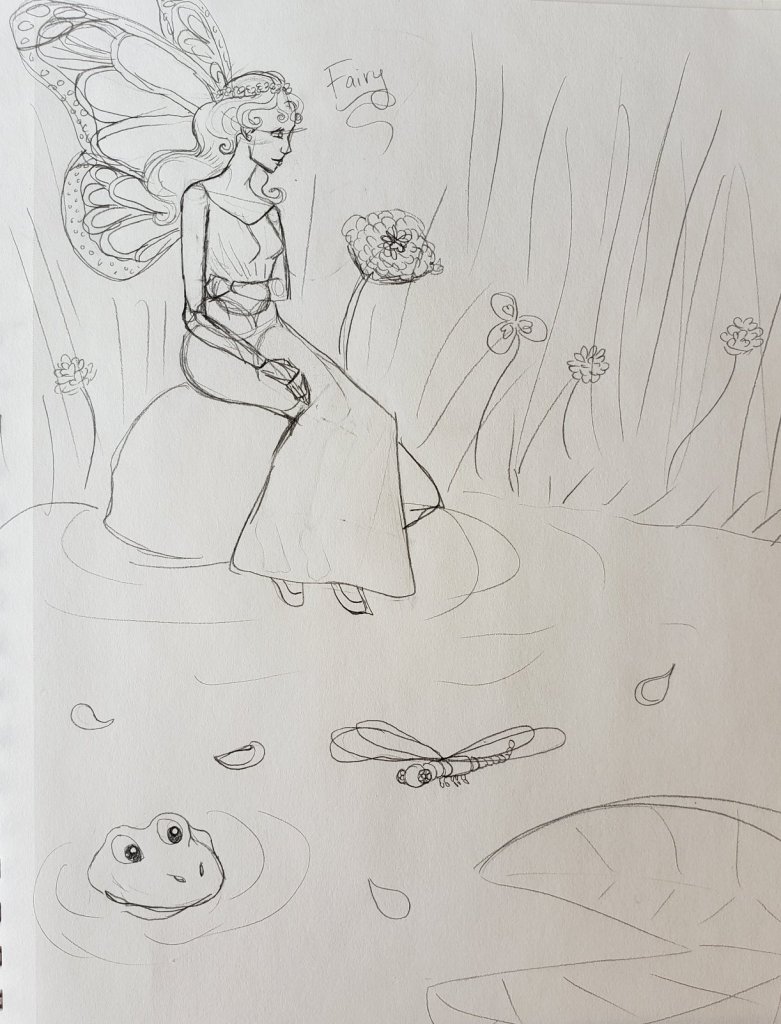
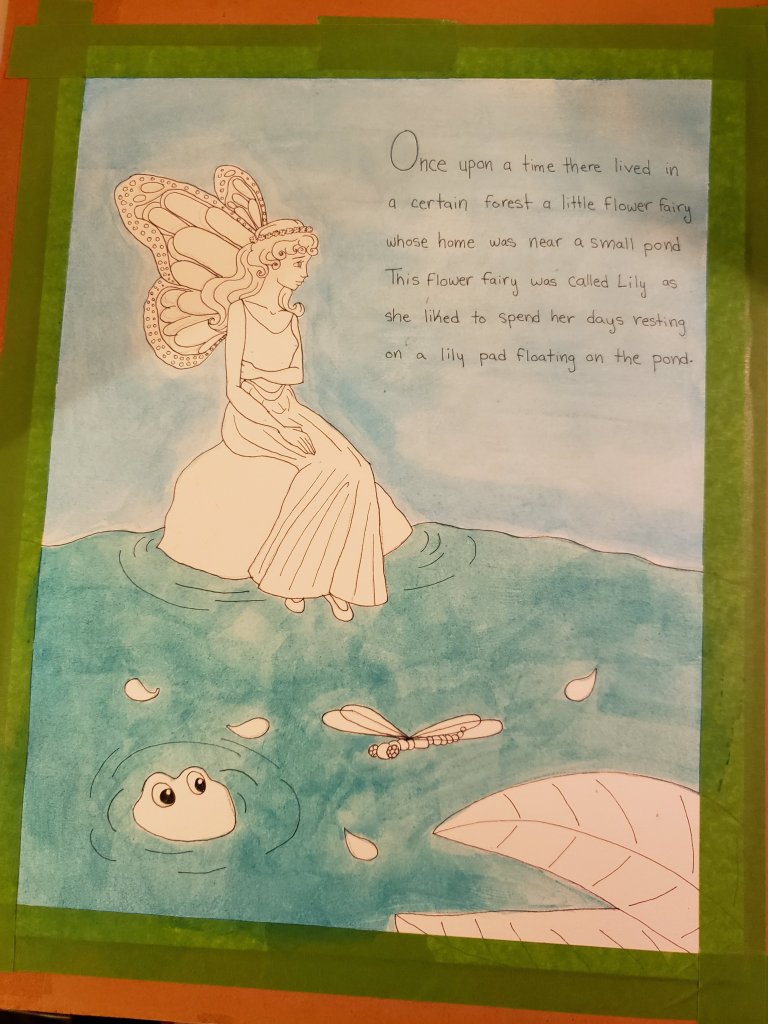
I began by roughly sketching my idea for the illustration in my sketchbook. I didn’t pay too much attention to detail.
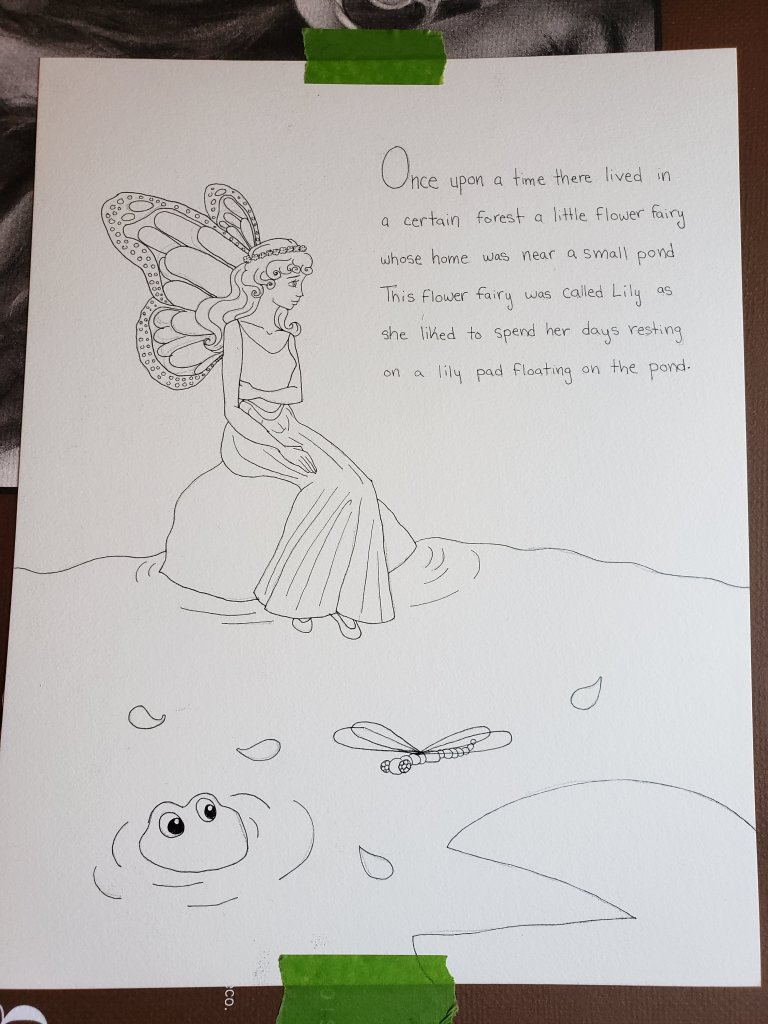
Next, I placed my rough sketch under a single sheet of thin marker paper. In this step I can decide what lines I want to keep and which ones need refining.
After I finish my revised sketch I use transfer paper to trace my design onto watercolor paper. Then I went over all the lines with an ink pen. I use micron pens because they do not bleed into the watercolor paint.
Time to Paint
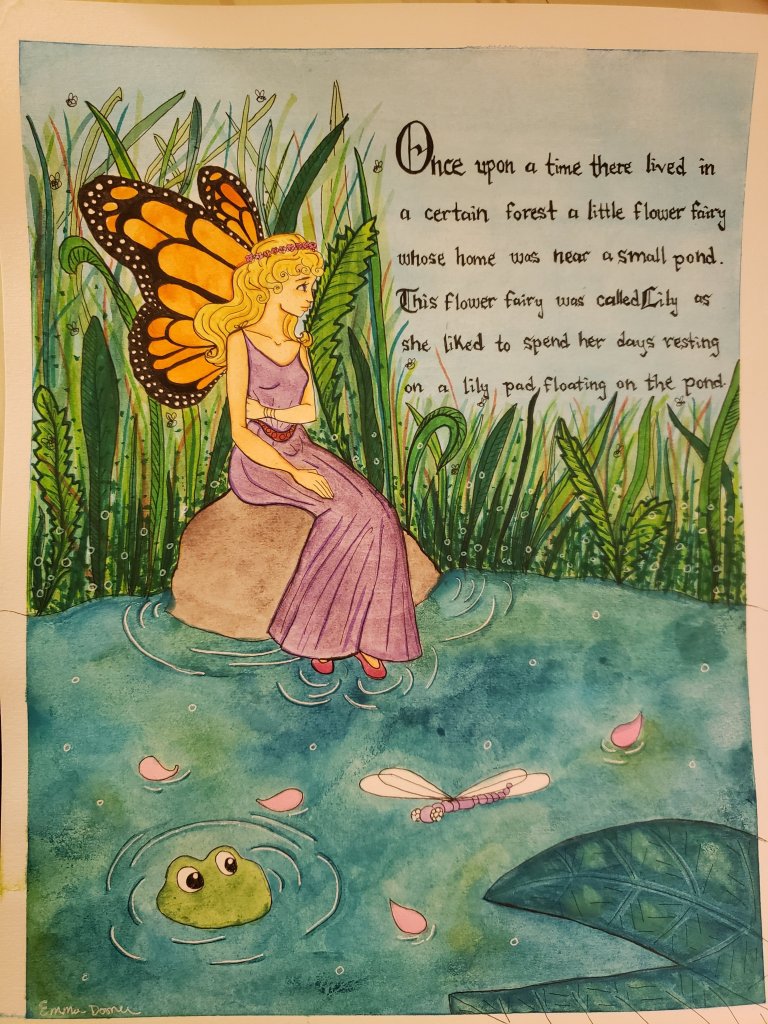
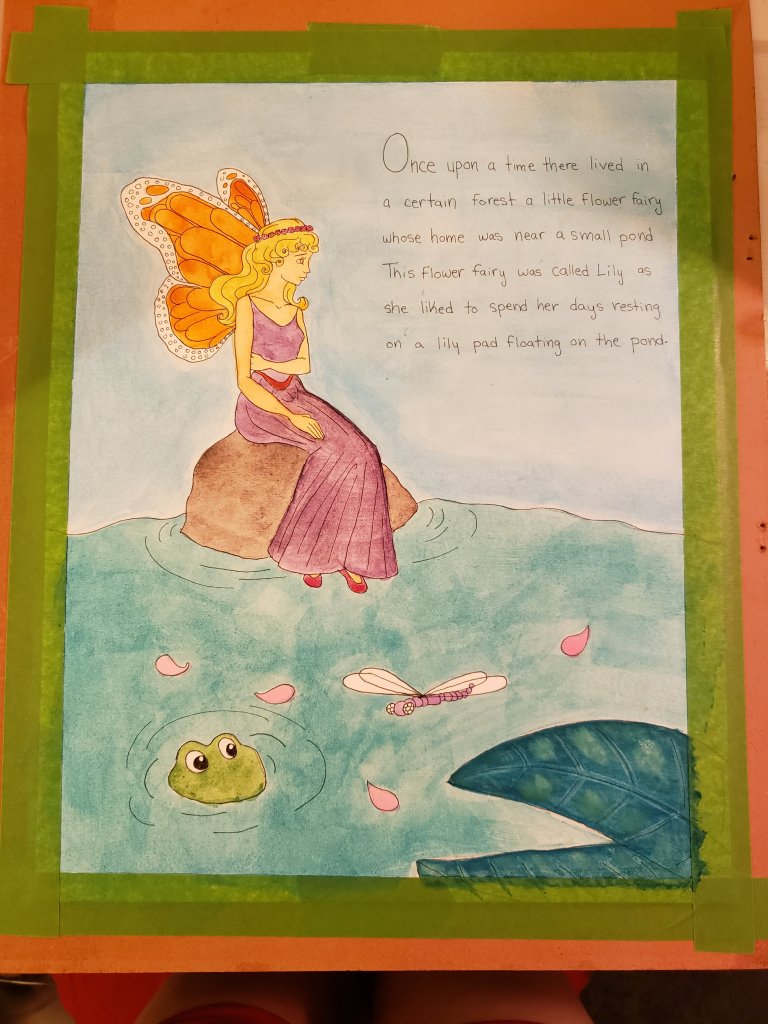
The first thing I painted was the sky. I wanted to make a dreamy baby blue color. I used a large flat brush to give the blue background a solid flat look.

Next I painted the water. I wanted the water to be darker and greener than the sky.
Then, I got the base colors down for the rest if the painting.
After all the base color were established, I decided to work with pens again. I wanted to add details to the background.
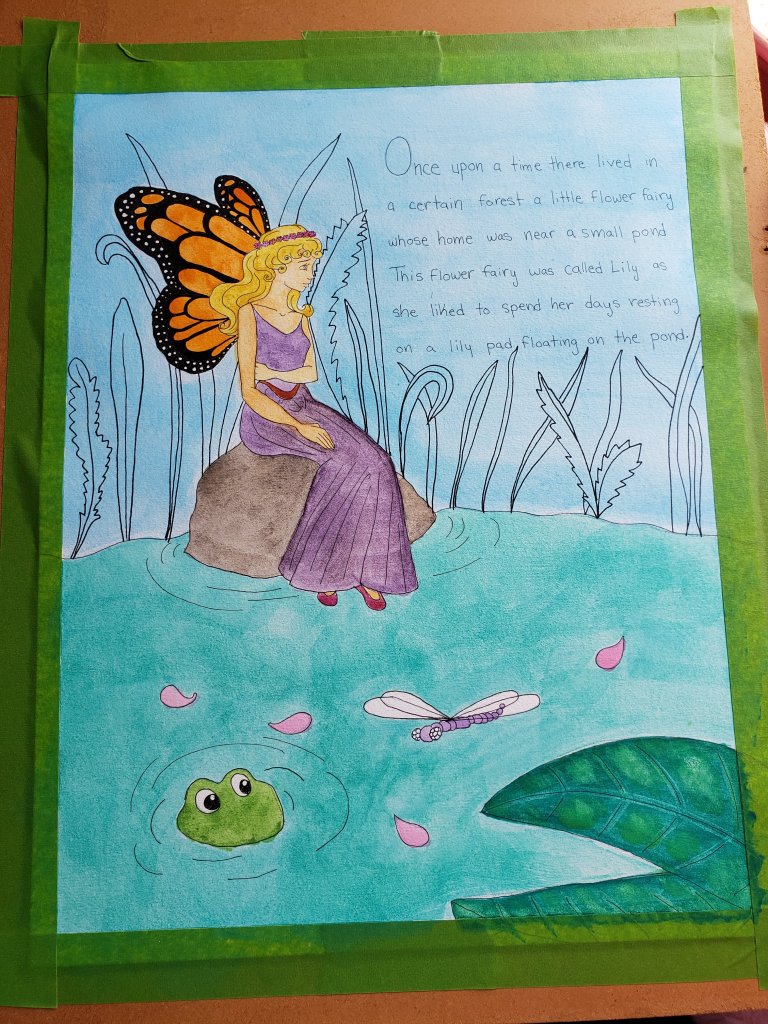
I started working on painting the grass next.
As I was painting the grass, I became unhappy with the look of the water. I worked on adding different shades of blue and green to the water. It was a messy process.
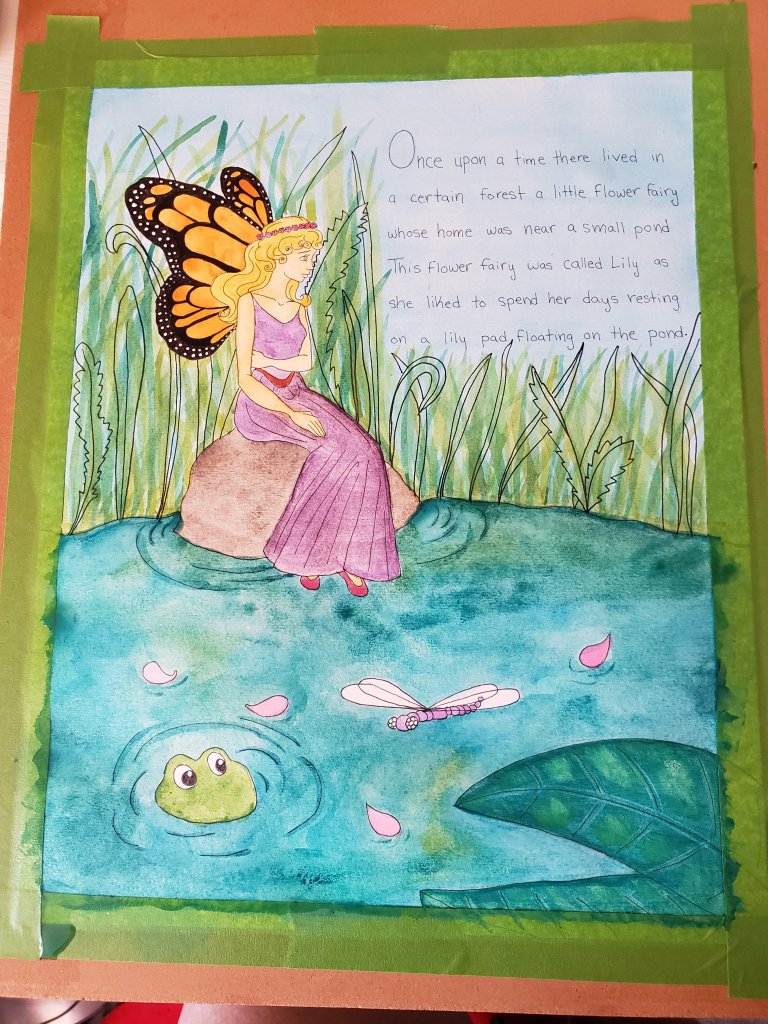
I went back and forth between painting the grass and the water.
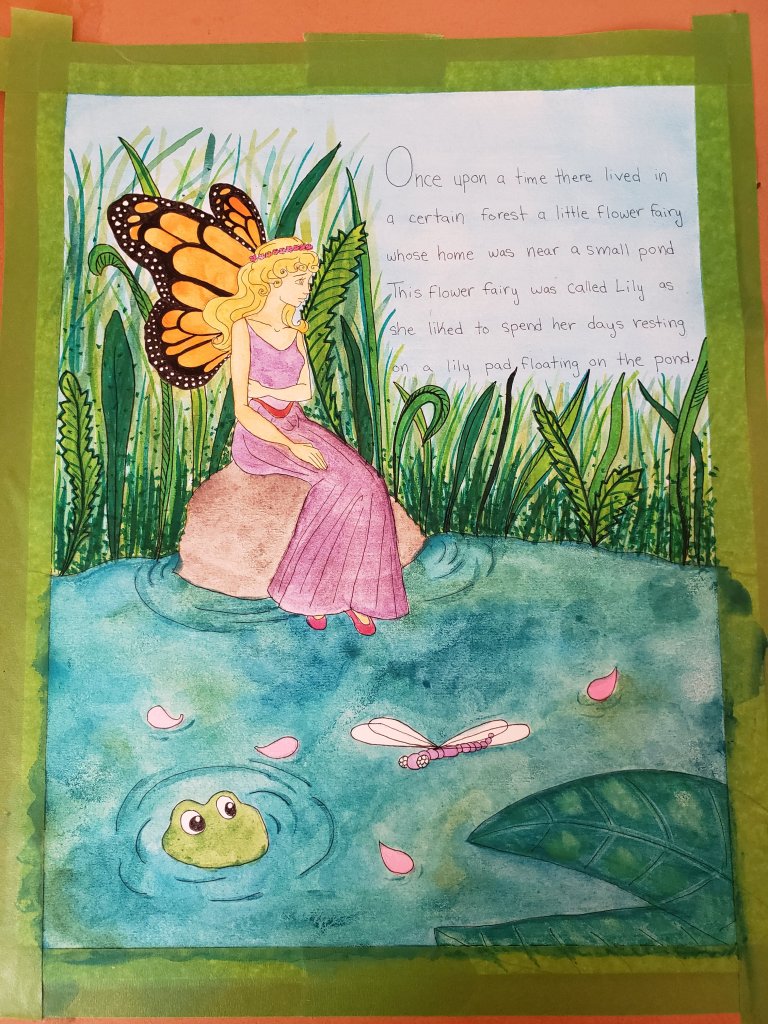
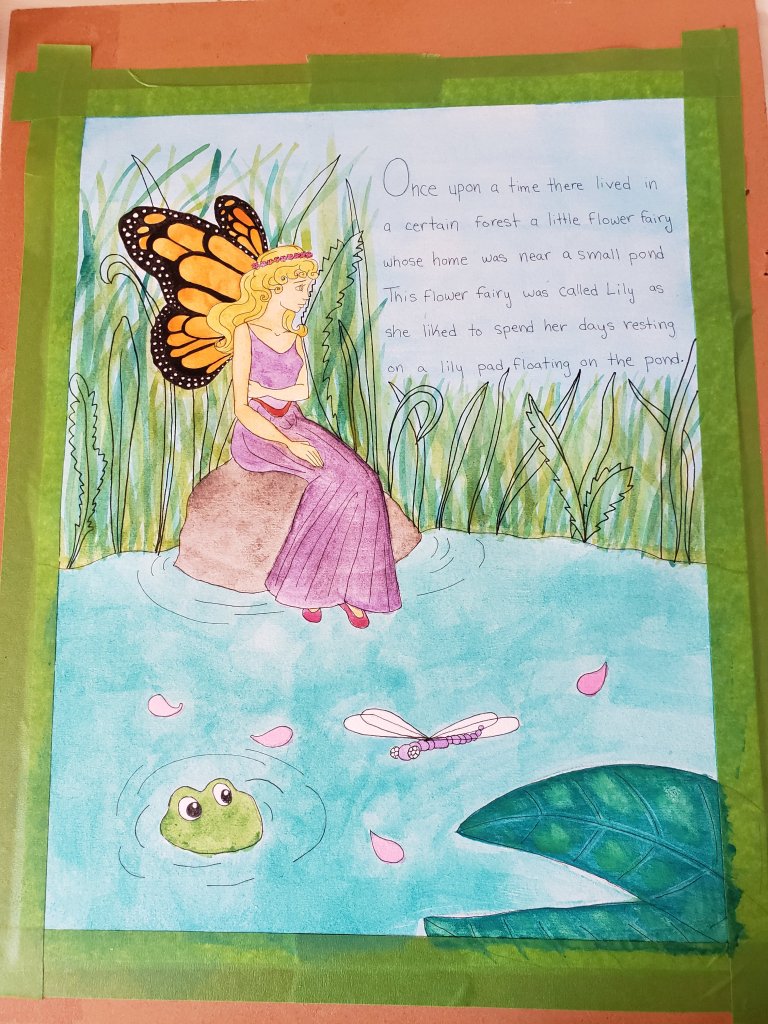
Once everything was dry I grabbed my pens again and worked on the text.
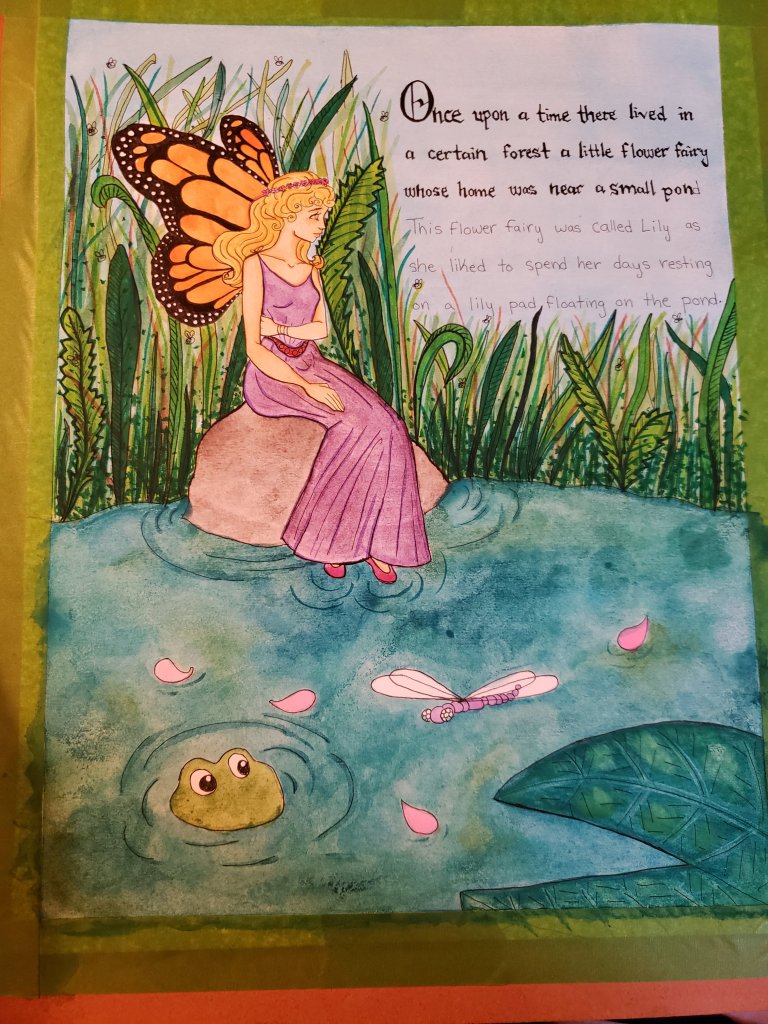
Finally, to finish the illustration I added highlights with a white pen.